1) Refers to Butterflies as "Flybeez", Zebras as "Zabeez", Mudflap as "Flappy", Graham crackers as "cookie crackers", Octopus as "Ocpeez".
2) When no one is home and I have to take the dogs out to potty Evin has to come with me and usually likes to hold on to the leash and encourage the dogs to poop and potty. When Ox poops, Evin says, "Urhh, urhh, big poop, urhh urhh, baby poop," depending on the size of the poop.
3) Touches the bump on Ox's head and says, "hat."
4) One morning while feeding the dogs I left the door to the garage open while I scooped up the food, when I went to close it Evin yells, "Guish? Guish? Guish?!" I didn't know what he was saying, but he ran to the door of the garage and yelled again, "Guish?" Squish came running out of the garage!
5) When playing on the floor he likes to "close, close" us in. So I either need to suck in my knees if laying on my side so that I make a circle around him or he surrounds us with all his favorite things so that we are "closed" in.
6) Knows when we're getting close to home and says, "my house". He also points to downstairs and says, "Auntie's house."
7) He knows the difference between "my apps" (his kindle), "mommy's apps" (my phone), and "aunties apps" (nicole's iPad). Sometimes he prefers different apps.

Friday, April 26, 2013
Tuesday, April 23, 2013
Earth Day Crafts!
I know I'm a few days late but here are some super fun Earth Day Ideas!

1) Backyard Wildlife Scavenger Hunt- We did this at work for our celebration and it was a TON of fun! I went to our local nature center and got some tips for what types of wildlife we might be able to see in our backyard here in Colorado! They helped me come up with a great list: Red Fox, Coyote, Robin, Red-winged Blackbird, Bluejay, Northern Flicker, Centipede, Grasshopper, Butterfly, Red-tailed hawk, Squirrel, ant, bee, and Canadian geese.
Then we made a our favorites toilet paper tube binoculars while the adults hid some of this things in grassy area.
Finally we went searching for the wildlife! Then we talked about how you could do this in your own backyard with the real thing! So much fun!

2) Modern Parents Messy Kids has a great tutorial for plantable earth paper! We're going to be trying this for Garden Week!

3) These are some great ideas for what to do with all those toilet paper rolls!

4) Some great ideas for toys to make from trash!
Have fun and love the earth!
Endless Alphabet App....AWESOME!
Evin is quite the technology buff....he has a kindle, he plays with "Aunties Apps" on her IPAD, and he also plays with "Mommy's Apps" on my IPhone.
This app however has topped our favorites for learning!

There are TONS of words to choose from and new ones added all the time!

The monsters come along and jumble up all the words and when you select a letter to put it back it turns in to a happy little letter monster that repeats the sound of the letter over and over again!

Then they animate and define the word after you get it correct! This animation is for cooperate. Eventually these two little monsters "cooperate" and lift up the bar to reveal the word!
Only complaint....they don't have it for his kindle, only IPad and Iphone....maybe soon!
Sunday, April 21, 2013
Bug Week Part I
Bug Week Part 1!
Three days of snow and more on the way slowed our bug week to a halt...so here's part one!
We decided on bug week after a short hike we went on to go bird watching erupted in screaming, shaking, and terror when a few gnats flew around us.....we needed to learn BUGS were COOL!

We started with one of our favorites a bug Sensory Box! We headed to Hobby Lobby to pick up our Safari Ltd. insect toob....these are our favorites! We ended up with a butterfly toob too....I just love these things!

We also found some plastic easter grass on sale for $.59!?! and the one spot at Target had these great bee magnifying glasses for inspecting our bugs.

We counted legs, learned about antennae, abdomens, thoraxes, eyes, and wings!

Our next activity was GLOW BUGS! I found this great idea through Pinterest!

We picked up these battery operated flameless LED lights at hobby lobby also. We got 16 for $11.99 (and we used our 40% coupon!). The eggs were on sale for $.09 and we had silver duct tape and pipe cleaners on hand!

While Evin was napping Nicole and I used nails and push pins to poke holes in the eggs and then used pliers to pull the pipe cleaners through....this wasn't easy so not all of our glow bugs got legs and antennas.

Complete with googly eyes and mouths! While Karl gave Evin a bath I hid the bugs around the house. He was SO excited after he got his PJ's on and saw all the glowing guys around the house!

He ran around collected them all and lined them up in from of the TV!

The next day I thought maybe he would be ready for REAL bugs so we headed out in to the backyard....it's still pretty cool here some days considering it's springs so we had to dig for our bugs.

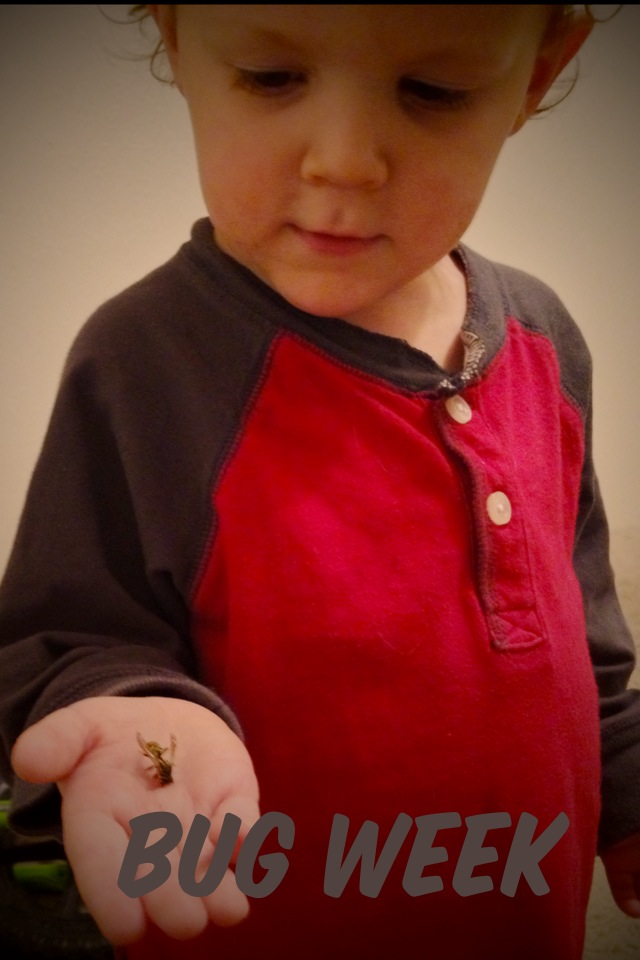
He was very excited for the first one we found and ran over with his bug keeper so I could put it in....

All of the bugs we found had lots of legs.....

Or were spiders....

He was totally willing to bring them leaves or sticks to make them happier.

But when I said, "hey Evin do you want to hold the bug?" He responded by yelling, "NO NO NO!!!! KILL IT!!!!"
Not quite what we were going for.

I had to work the next day so I made the snail snacks for him out of cutie oranges for breakfast.....(side note....snails are not bugs they are mollusks....you're welcome dad)

While I was at work Nicole decided to try the bug hunt again only she decided to go back to fake bugs again so she gathered some rocks and while he was napping made these little lady bugs.

Way better success at convincing him to carry them around!

Of course what bug week is complete with worms and dirt! For anyone who might be living under a rock....worms and dirt is gummy worms in chocolate pudding with crushed oreos...YUMMY!


Grandma Frieda and Ernie sent this cool little bug! We also got a butterfly kit and praying mantis kit from Evin's Grandpa and Aunt and Uncle Howard and Margaret.....Part II of Bug Week will continue when our butterfly and mantis eggs arrive!

Since we had three days of snow we decided to visit our local gem the Butterfly Pavillion!

We got to see some real caterpillars....

Some real butterflies.....

And some other VERY cool bugs! It's a whole invertebrate zoo!
The next day I was making my celery free version of ants on a log (banana, peanut butter, and chocolate covered raisins) Evin came to me screaming, "LOOK LOOK LOOK BUG BUG BUG!!!!" I followed him over to his reading corner and we found a dead wasp....her ran and got his bug keeper and apparently dead bugs are not as scary. This bug went from keeper to tractor bucket to bucket to hand and back again.....as a matter of fact four days later the dead wasp is still sitting on our TV console.

For Earth Day the Aquarium holds a "Party for the Planet" event and we did a backyard wildlife scavenger hunt....since Evin didn't make it I brought it home to him! We hunted plastic grasshoppers, butterflies, ants, and more with our binoculars in the backyard! TONS of fun!

Stay tuned for part 2 coming whenever the bugs do!
Until then check out Alison over at Oopsey Daisy's Mommy School I is for Insect Packet. She has TONS and TONS of ideas! Bug Week could be Bug year!!!!
Thursday, April 18, 2013
Wednesday, April 17, 2013
Sea Star Fishing (and snacks)

Today at story time we read a book about Sea Stars! Most people refer to them as starfish but since they are more closely related to BUGS than fish, we like to call them SEA STARS!!!!
So we decided to go fishing or netting for sea stars! :)

We added a little blue food coloring to the bath tub and cut some out of a sponge.

Then filled the tub and went "fishing".


I always like to brag about how long these activities keep Evin busy... This one lasted for a whole 15 minutes and in our house....that's AWESOME!!

Sea Star Snacks!
I also thought I would include this recipe that I made for the trainers and aquarists at the Aquarium during keeper week this summer!
WARNING! This is NOT easy!
Here's the original link from Hungry Happenings.....she's FAR more amazing than me!

Ingredients:
1 cup water, divided
1 1/2 cups granulated sugar
1 cup light corn syrup
pinch of salt
1 teaspoon pure vanilla extract
1/3 cup powdered (confectioners) sugar
1/4 cup corn starch
1-2 teaspoons butter or non-stick cooking spray
50 squares of graham crackers crushed into crumbs
16 ounces semi-sweet chocolate, finely chopped (or chips)
Melt Marshmallows:
Butter the inside of a large microwave safe bowl and a large rubber spatula. Pour marshmallows into bowl. Heat in microwave on high power for 20 seconds. Stir using buttered spatula. Heat for 20 more seconds. Stir. Heat for 20 seconds. Stir. If marshmallows aren't melted, continue to heat for 10 second increments, stirring after each, until melted.
Spoon or pour your marshmallow moosh in to a pan. Sprinkle some of the cornstarch/powdered sugar mixture over the marshmallow. Press down on the surface of the marshmallow. This will smooth out the surface and allow you to push the marshmallow into the lips and fins. If you don't sprinkle on the powder, your hands will stick and the marshmallow will pull up and out of the mold.
Cut the marshmallows with star shaped cookie cutters!
Allow the marshmallow to harden for at least an hour.
Melt Chocolate:
Pour chopped chocolate into a microwave safe bowl. Heat on high power for 30 seconds. Stir. Heat on high power for 20 seconds. Stir vigorously. Heat on high power for 15 seconds. Stir vigorously. If not melted, continue to heat for 10 second increments, stirring after each, until melted.
Pour graham cracker crumbs into a shallow dish.
Dip Marshmallow Stars in to chocolate (be careful because they start to loose their shape when they get warm again) then dip them in the graham crackers and lay them out to dry!
I used colored round sprinkles and added those to white icing dots for eyes!
This took me three hours one night but they were AWESOME and yummy!
Stay tuned for BUG WEEK! Coming soon!
Tuesday, April 9, 2013
Build a mantle like a GIRL!
When my dad was visiting, we picked out the wood we would need to build a mantle.
We chose oak:
2- 8" wide 8 ft long pieces
1- 6" wide 8 ft long piece
1- 2X4 12 ft long piece of regular pretreated lumber
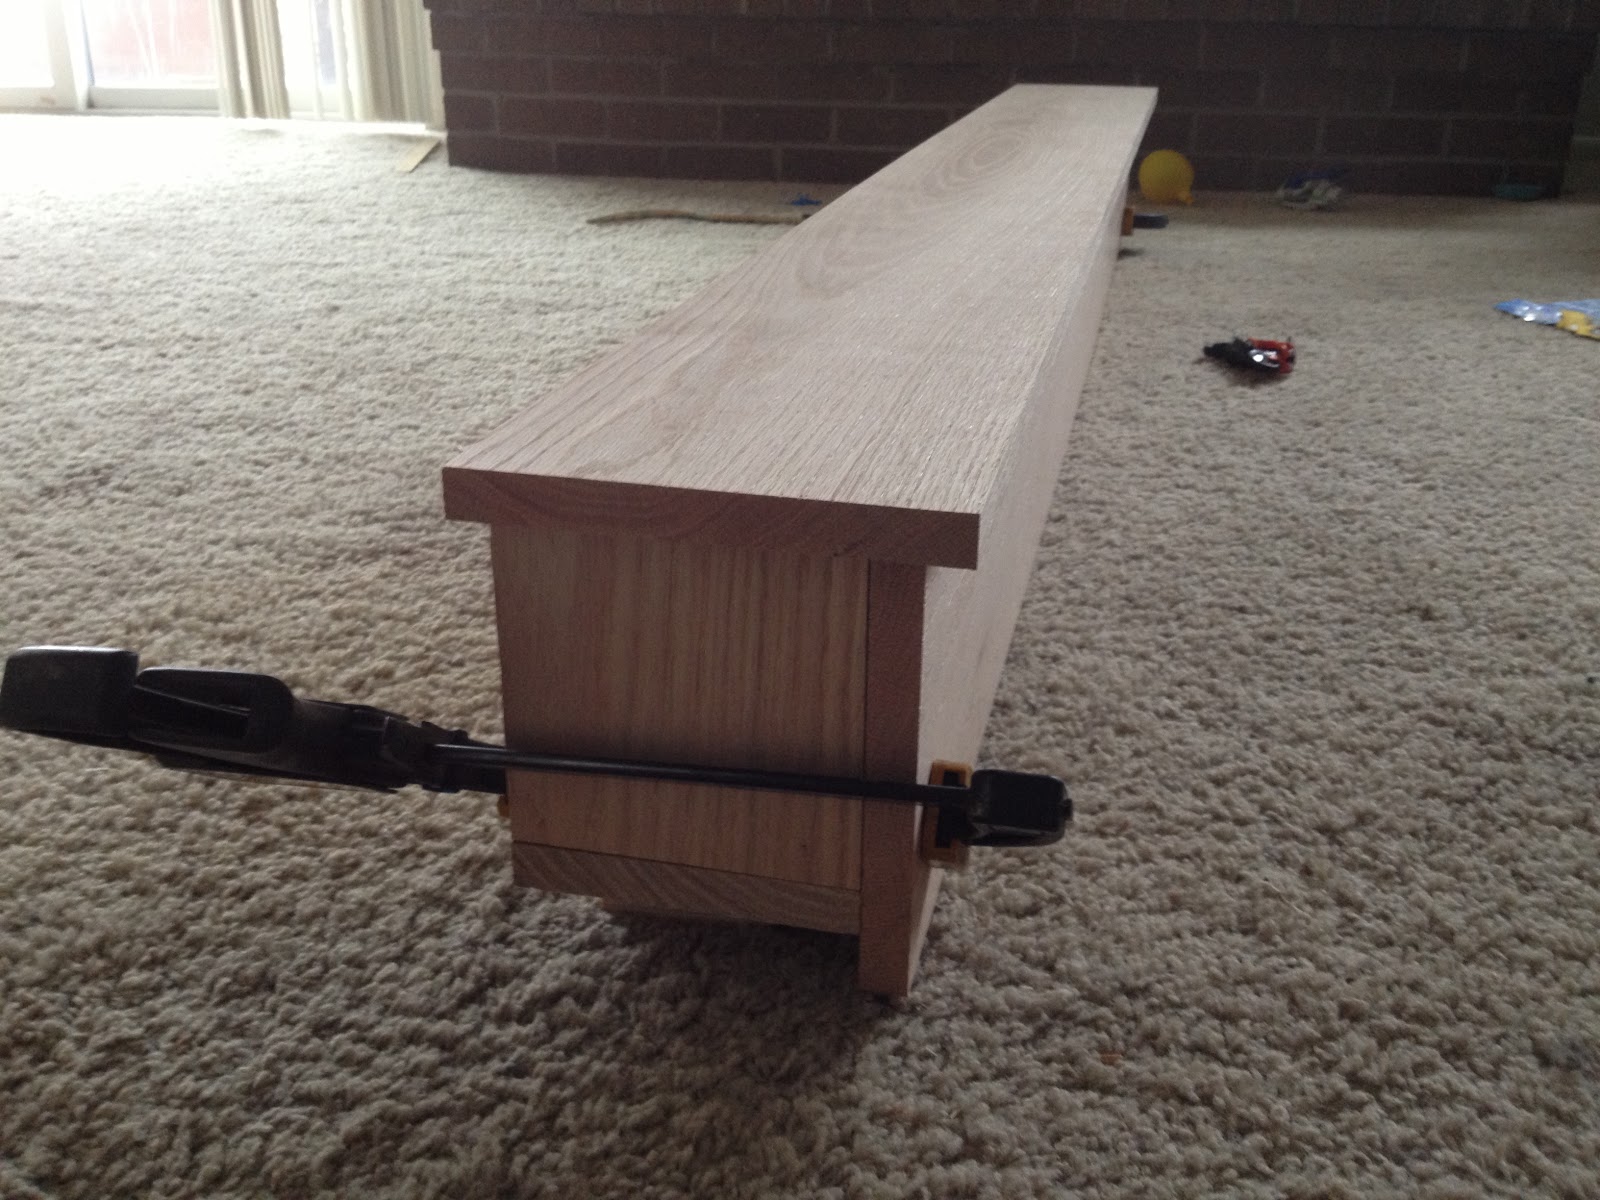
I measured the fireplace, decided how long I wanted the mantle to be and started cutting. Our fireplace is 75" wide I wanted the longest part of the mantle to set in 5" so I cut one piece at 65" and the other two at 63". I cut the 2X4 to 61 inches.
Then I measured the space between my 2X4 and the front piece of the mantle and cut some extensions so I would have something to nail to.

Then I clamped it all together and laid it out so I could see what it was going to look like.

I decided to leave the front piece a little long to give it some character.

I took all the pieces apart and screwed my extensions in to the 2X4.

Dad also bought me a Tapcon drill bit and some Tapcon concrete anchors to go along with it. We don't have a finish nailer so I bought an assortment pack of finish nails and prepared to hand nail!

Then I called for help! "NICOLE!!!!!"
I pre-drilled some holes in the 2X4 so that I could see through and make sure that I was drilling into the middle of the brick. Then she helped me hold the 2X4 in place while we drilled our holes with the Tapcon bit.

Well after we figured out that you needed a battery.....

Just kidding we're not those kind of girls....

After the 2X4 with extensions was mounted with the Tapcon concrete anchors it was time to nail on my oak pieces.

I pre-drilled holes in to the mantle where I was going to sink my nails but it didn't make it much easier. I suck at nailing. I had to pry a few out and start over but eventually I got the hang of it and got my front and top on.

Always leave your mark!

Ox, is always my best helper even if he does blend in with the chair.

Pre-stain!

I chose a Red oak stain that we just happened to have in the garage and the whole project was done in 6 hours.
That's how you build a mantle like a girl!

Subscribe to:
Posts (Atom)